
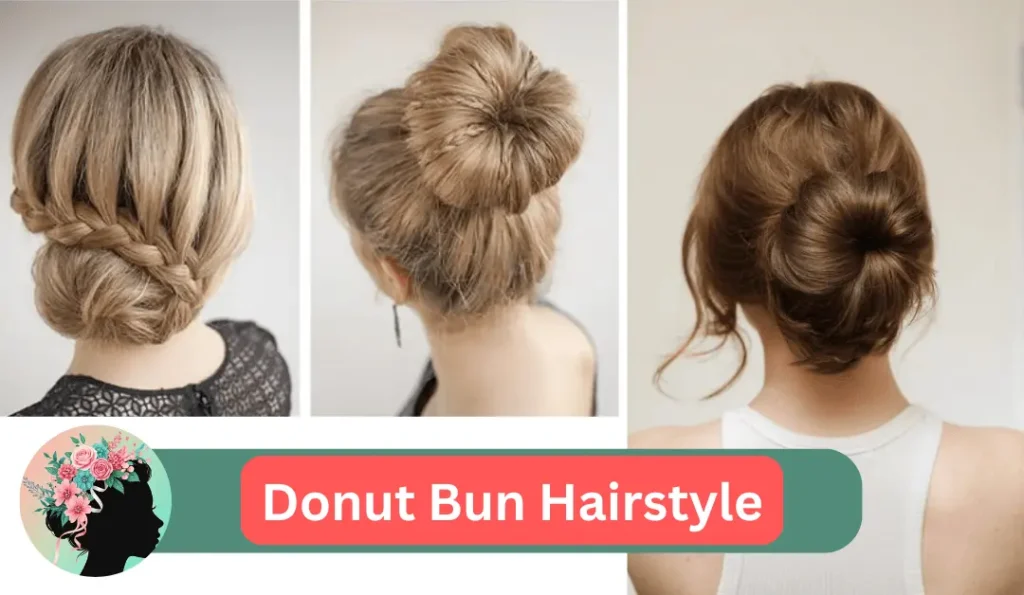
Whether you’re heading to a high-stakes board meeting, a sweaty yoga session, or a black-tie gala, there is one hairstyle that never misses: the Donut Bun Hairstyle.
It’s the ultimate “fake it ’til you make it” style—making even thin hair look voluminous and perfectly sculpted. In this post, we’re breaking down how to achieve this look in minutes.
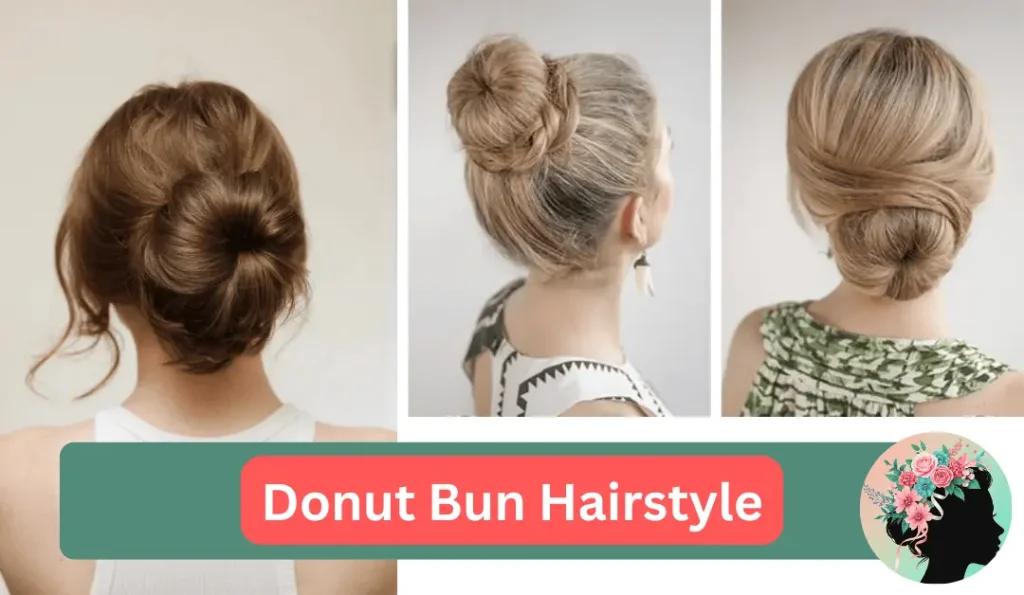
Why We Love the Donut Bun
- Instant Volume: The foam “donut” (or a rolled-up sock!) provides a structural base that makes your bun look full and thick.
- Versatility: You can wear it sleek and high for a “clean girl” aesthetic or low and messy for a romantic vibe.
- Stay-Put Power: Unlike messy buns that fall out by noon, the donut bun is locked in and secure.
What You’ll Need
- A hair donut (matched to your hair color)
- Two hair elastics
- Bobby pins
- Hairbrush and a bit of hairspray
Step-by-Step: The Perfect Bun
- The Base: Start by brushing your hair into a smooth ponytail. The height of the ponytail determines where your bun will sit—go high for drama or low for elegance.
- The Donut: Slide your hair donut over the ponytail so it sits right against your head.
- The Cover-Up: Lean forward slightly and spread your hair evenly over the donut. You want to make sure the foam is completely hidden.
- The Secure: Slide your second hair elastic over the hair-covered donut. This will create the “bun” shape and leave you with loose ends around the base.
- The Finish: Take those loose ends, wrap them around the base of the bun, and tuck them in with bobby pins.
Donut Bun Hairstyles for Short Hair
For short or fine hair, the donut bun is a game-changer, adding instant volume and structure that can be hard to achieve with a standard elastic. By choosing a small-sized donut maker (around 6 cm) and opting for a low placement, you can create a sleek, secure look even if your hair doesn’t reach your mid-back.
Best Styles for Short Hair
- The Low Chignon: Place your ponytail at the nape of your neck. This is ideal for hair that is too short for a high top-knot but long enough to pull into a secure base.
- The Half-Up Donut: If only the top half of your hair reaches a ponytail, use a mini-donut for a voluminous half-up, half-down look.
- Messy Textured Bun: Instead of a sleek finish, use dry shampoo or a texture spray before fanning your hair over the donut to create a softer, more relaxed appearance.
- Braided Wrap: For very short layers that might “leak” out of the bun, braid those loose ends and pin them around the base to hide any stray flyaways.
Donut Bun Hairstyle Hacks
- Dampen for Control: If you have fine or “slippery” hair, dampening it slightly before fanning it over the donut helps it stay in place while you secure the elastic.
- Mini Donut Sets: Look for sets like the INSIME Donut Hair Bun Maker Set or Extra Hair Donut Bun Maker for Kids, which include small (2.5-inch) versions specifically designed for short or thin hair.
- Human Hair Scrunchies: If your hair is too short to cover a foam donut entirely, a pre-styled human hair donut like the Hair Donut Scrunchie can be wrapped around your natural mini-bun to add instant, realistic volume.
- Bobby Pin “X” Method: For extra security, cross your bobby pins in an “X” shape at the base of the bun to anchor the donut firmly against your scalp.
Hair Donut Bun Price and Shopping Options
| Product | Price | Key Feature | Source |
|---|---|---|---|
| INSIME Donut Set | ₹165 | Includes 3 sizes (Small to Large) | Amazon.in |
| Nish Hair Donut Scrunchie | ₹1899 | 100% human hair for a natural blend | Amazon.in |
| Extra Small Donut (2-pack) | ₹142 | 2.5-inch mini size for kids or very short hair | Amazon.in |
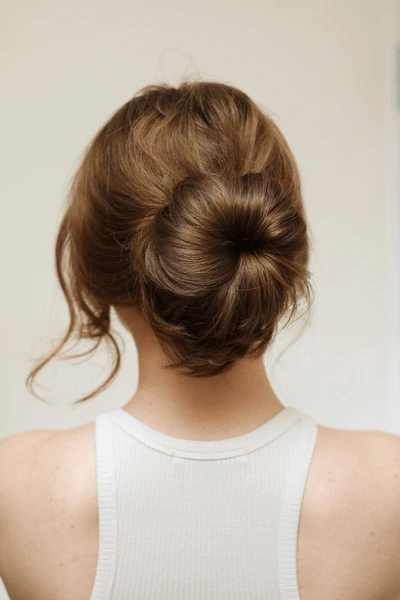
Simple Donut Bun Hairstyle
If you want a simple, everyday donut bun that takes less than two minutes, the “fanning method” is your best friend. It’s the easiest way to get that perfectly symmetrical look without needing a mirror or complicated braiding.
The 2-Minute Simple Method
- The Pony: Secure your hair into a ponytail. Don’t worry about it being perfectly sleek—a few bumps give it a natural look.
- The Donut: Pull your ponytail through the hole of the hair donut until the donut sits at the base of your head.
- The Fan: Lean your head forward and spread your hair around the donut so it looks like a “fountain.”
- The Loop: Take a thin hair elastic and slide it over the hair-covered donut. This instantly creates the bun shape.
- The Tuck: Take the remaining hair sticking out from under the elastic, wrap it around the base, and tuck it in.
Why This Works for Beginners
- No Mirror Needed: You can feel where the hair is fanning out.
- Minimal Tools: You only need a donut and two elastics.
- Hides Layers: The second elastic traps any short layers or flyaways inside the bun.
Visual Guide
Pro Tip: If you want a “Messy Simple” look, skip the hairspray and gently tug at the edges of the bun once it’s finished to make it look bigger and softer.
Donut Bun Hairstyles for Black Hair
For black hair, the donut bun is a powerful tool for adding volume to natural textures, protecting ends, and creating high-glamour looks without needing permanent extensions. Whether you have natural 4C hair, a silk press, or protective braids, the donut bun offers a sophisticated, structured finish.
Top Styles for Black Hair
- The Sleek High Bun: Often paired with laid edges, this “clean girl” look is perfect for professional settings. Use a strong-hold gel like Eco Styler to slick back your roots before securing the donut.
- The Braided Donut: You can style existing box braids or cornrows into a massive, statement donut bun. This is a popular “black-tie” option that keeps braids neatly tucked away.
- The Natural “Afro” Bun: For shorter natural hair, you can use a donut maker to create a full, rounded afro puff that mimics a natural hair texture without needing your own hair to be waist-length.
- The Messy Low Bun: A more relaxed, romantic take that sits at the nape of the neck. This style works beautifully with second-day hair or older silk presses.
Essential Techniques
- Matching Accessories: Always use a black or dark brown hair donut to ensure the foam doesn’t peek through your hair. Matching bobby pins are also essential for a seamless finish.
- The “Setting” Method: To achieve a ultra-flat, sleek base on natural hair, tie a satin scarf over your slicked-back hair for at least 30 minutes (or overnight) after applying gel but before adding the donut.
- Added Volume: If your natural hair is very short, you can wrap braiding hair around your ponytail before sliding the donut on to provide more coverage.
3 Ways to Style It
- The Sleek Professional: Use a fine-tooth comb and hair gel to slick back flyaways before making your ponytail.
- The Braided Beauty: Before pinning the loose ends (Step 5), braid them and wrap the braid around the bun for a sophisticated touch.
- The “I Woke Up Like This”: Gently pull out a few face-framing strands and tug slightly at the bun to loosen it for a softer, textured look.
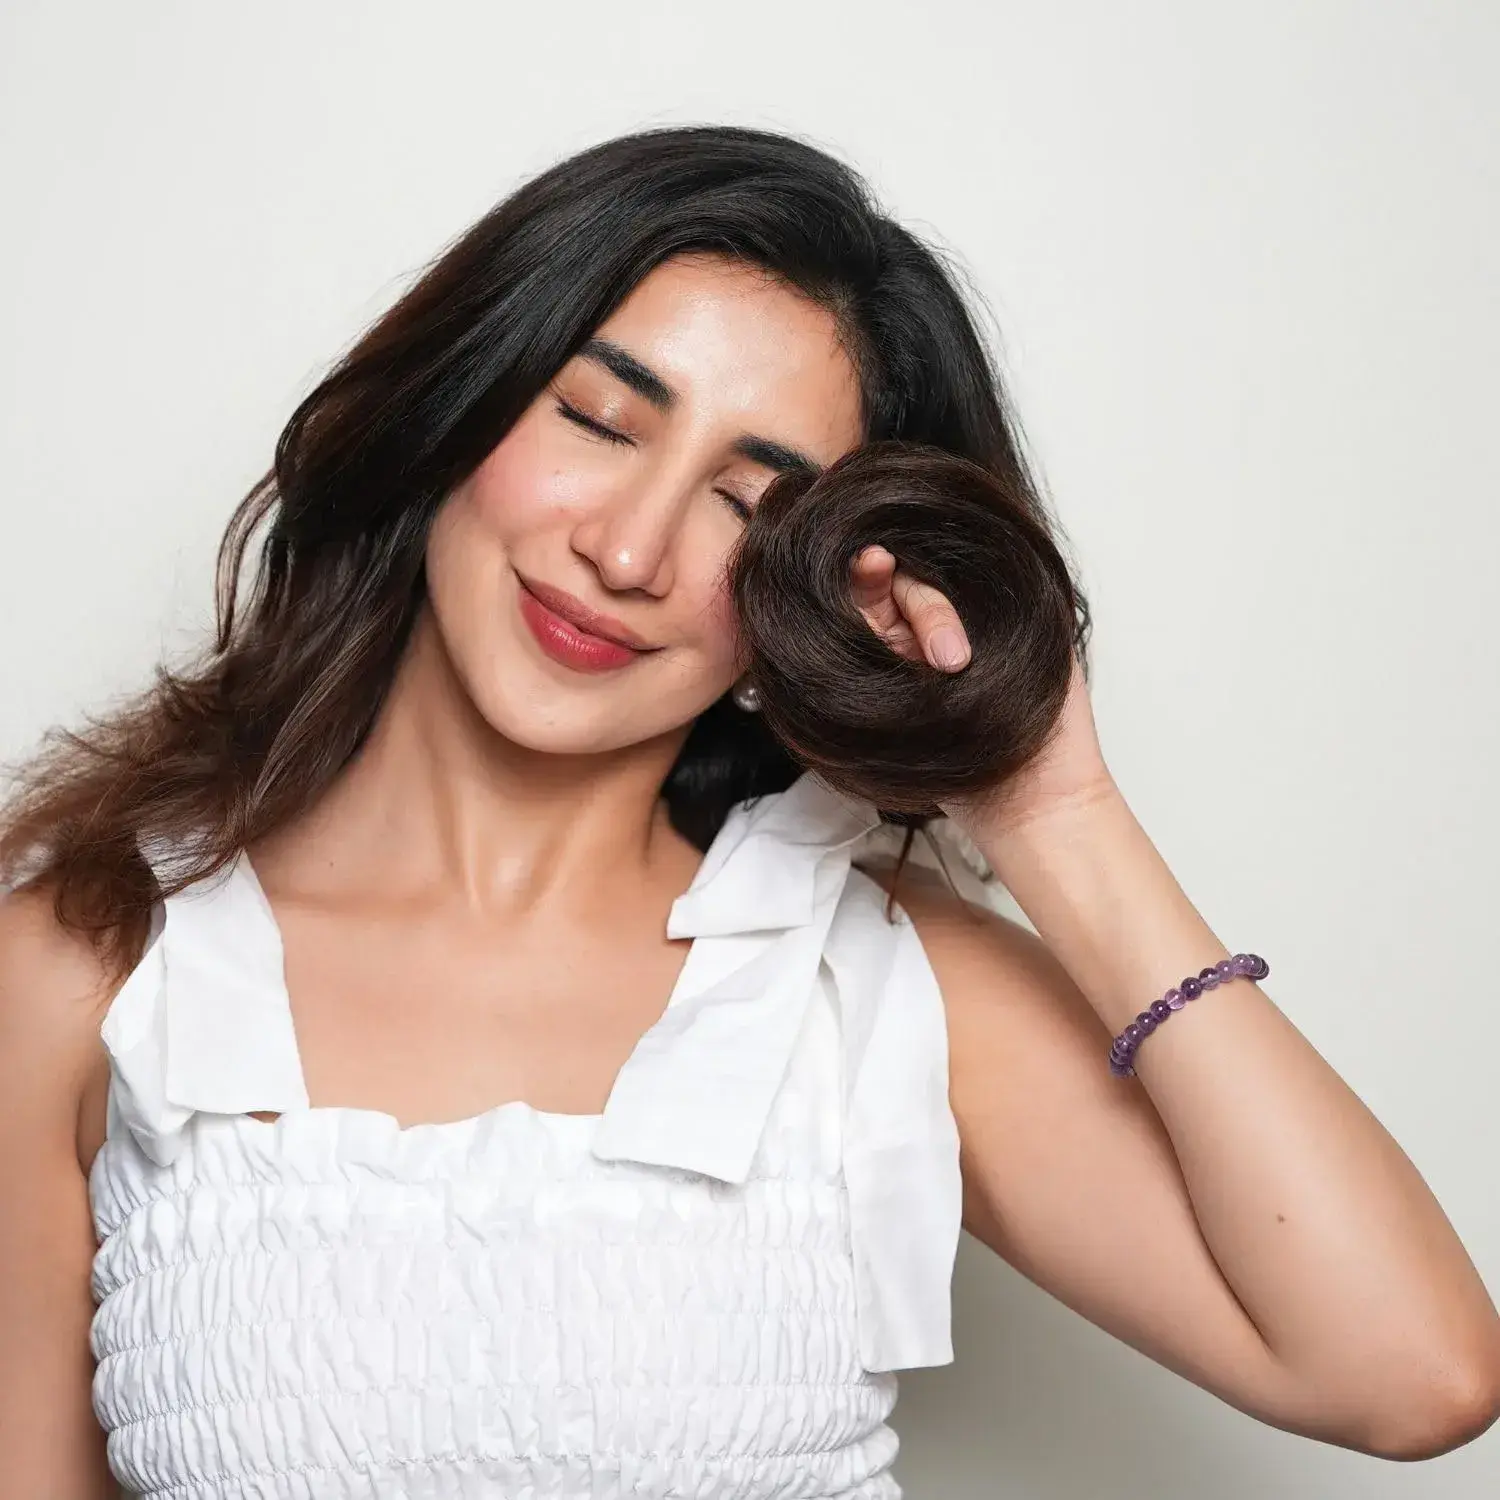
Pro Tip: No Donut? No Problem!
If you’re in a pinch, grab a clean sock, snip off the toe, and roll it from the inside out until it looks like a bagel. It works exactly like a store-bought hair donut!
Donut Bun Hairstyle: Ready to try it out? Tag us in your hair selfies!
Next: Different Types of Hair Clips With Names: Essential Hair Clips in 2026
FAQ
My hair is too short to wrap around the base. What do I do?
Simply fan the hair over the donut and secure it with an elastic at the base. Instead of wrapping the “leftover” hair, tuck the short ends directly under the donut and secure them with pins.
What if I can see the foam donut through my hair?
Ensure you are using a donut that matches your hair color (e.g., black/brown for dark hair, blonde/beige for light hair). If your hair is too thin to cover it, try teasing the ponytail before fanning it out to create more volume and coverage.
What size donut maker should I use?
It depends on your hair length and desired look. Use small makers (approx. 6 cm) for short or fine hair. Use large makers for long hair or to create a high-drama statement bun.